|
I have big things planned for this scoot. Yeah, its a process, but thats what makes it fun :)
In the future, I plan on. Fitting my custom exhaust Re-wiring my entire wiring harness Painting the scooter Changing the wheels Finishing the cowl Fully attatching the wing Adding my patlite Adding a livery? & many many more things. SEE YOU IN SCOOT SUMMER 2022!!
0 Comments
The photos are in order of how I taught myself how to use fiberglass and make an undercowl. Mold was made. Glass fabric was laid out and cut to the correct size. (20" x 24") Epoxy was mixed. Epoxy was poured on the glass to saturate it and make it workable. Then the epoxy was "painted" everywhere to functionally create fiberglass as we know it. More expoy made and poured. Repeat. Repeat. Sides of mold had a piece added to them and then epoxied in place. Repeat. Then the mold was left to dry for a day before it was peeled off the mold. Last photo showing the VERY rough placement and shape of the undercowl. Honestly, doing all the fiberglass myself, teaching myself with all the research was incredible. That hands on aspect of this project is what made it come to life. 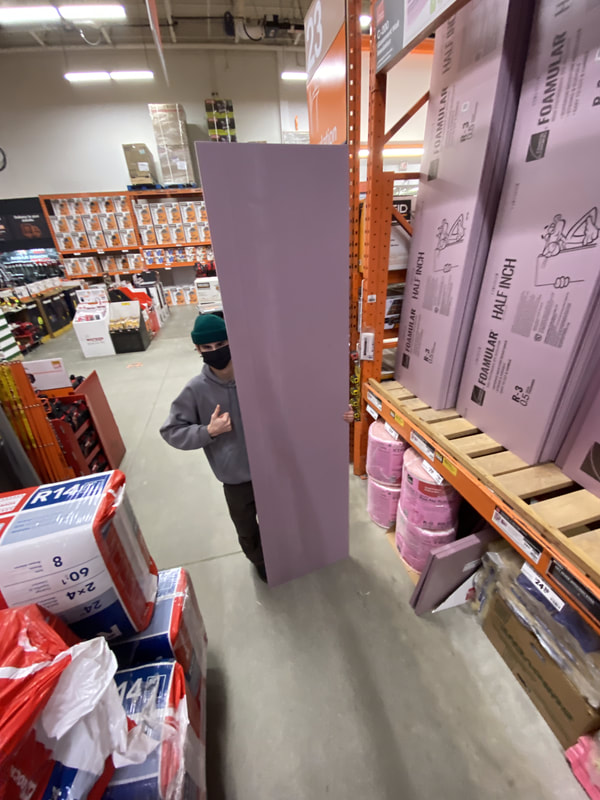 To make the mold for my undercowl, I first had to obtain pink foam. Home depot had me covered. I bought one piece and that was more than enough. Then I did tons of research and found that this video helped the most: https://www.youtube.com/watch?v=MAinuf5I_dw Then cut, glued and shaped my pieces into a mold for me to lay my fiberglass over. 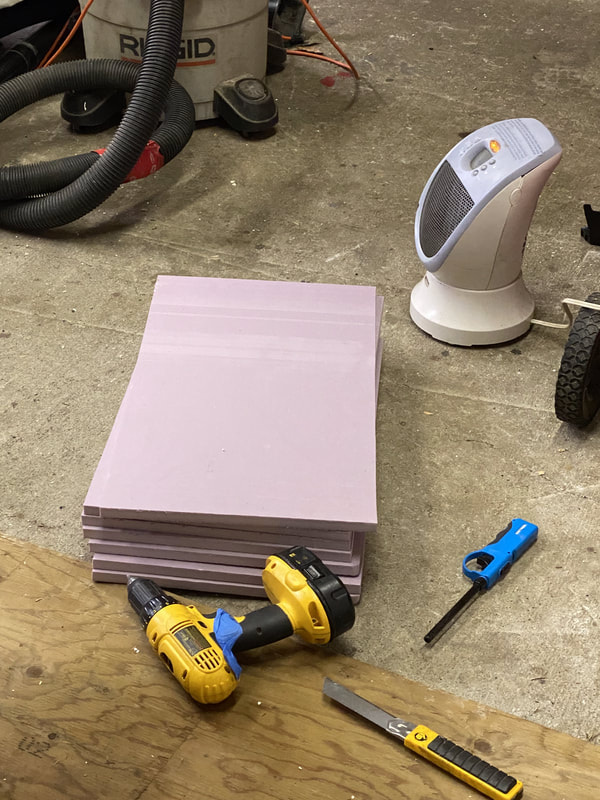 The pieces all cut to 13.5" for space to sand it down into shape.   The finished mold
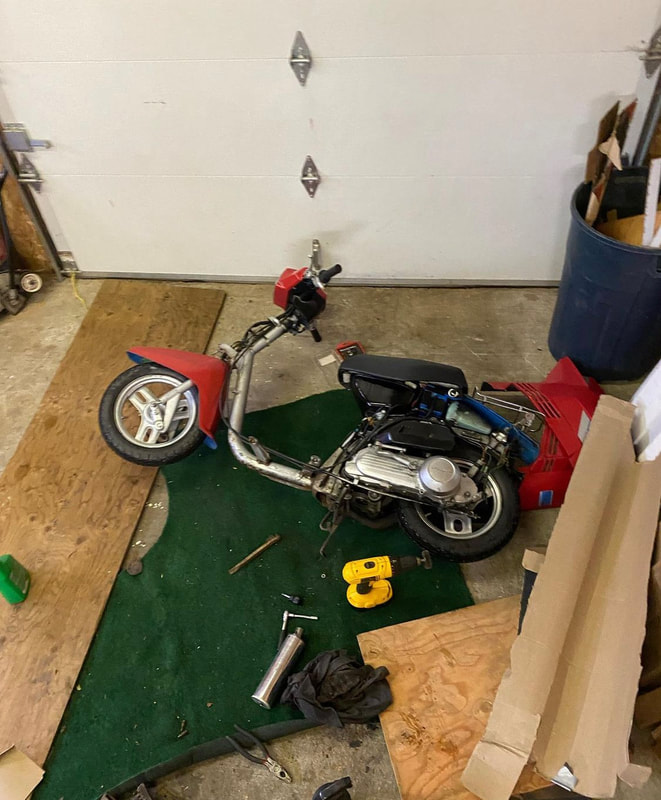 Junk 24/7, love it though...  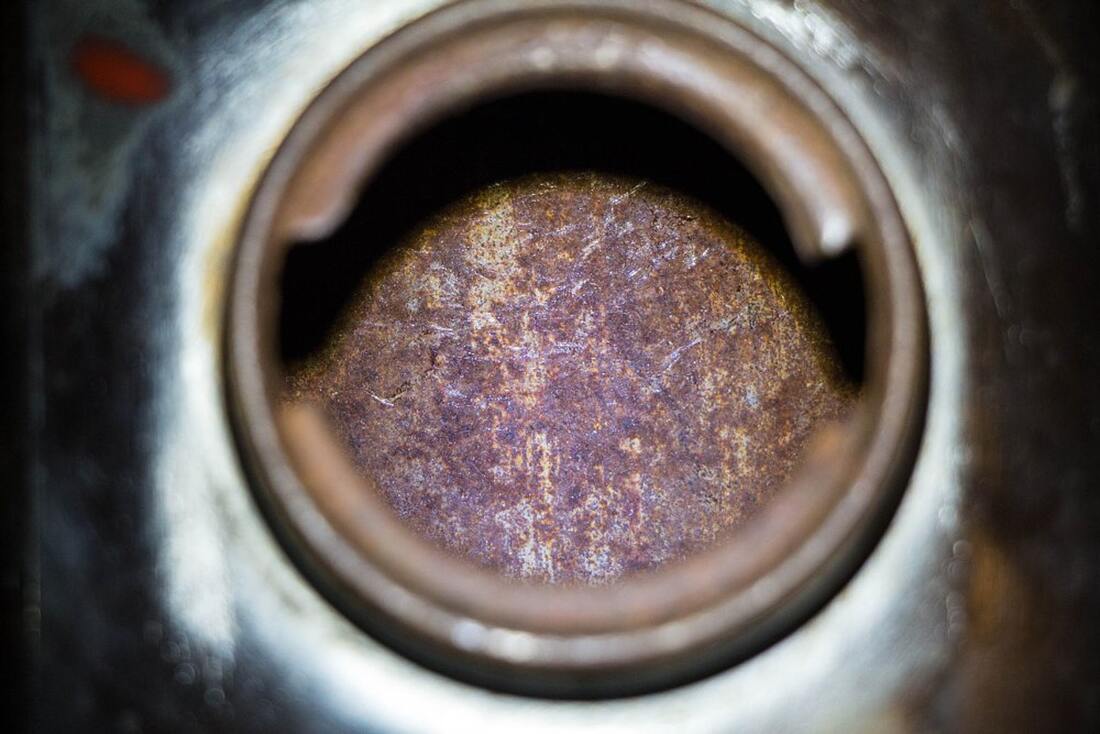 This scooter had some rust on it, like lots. On the frame, on the wheels, and even in the gas tank. The surface rust was cleaned up well with a wire wheel and a wire brush. That along with some sandpaper made it shine wonderfully. I re sprayed the frame after sanding it down to bare metal. Rust was officially gone. The gas tank rust was easy to fix with just some chemicals. Photos: -Removing rust with wire brush and wire wheel -A clean frame -Rust in gas tank Some more inspiration for my build! Cant get enough, theres so many builds with so much character to them all! 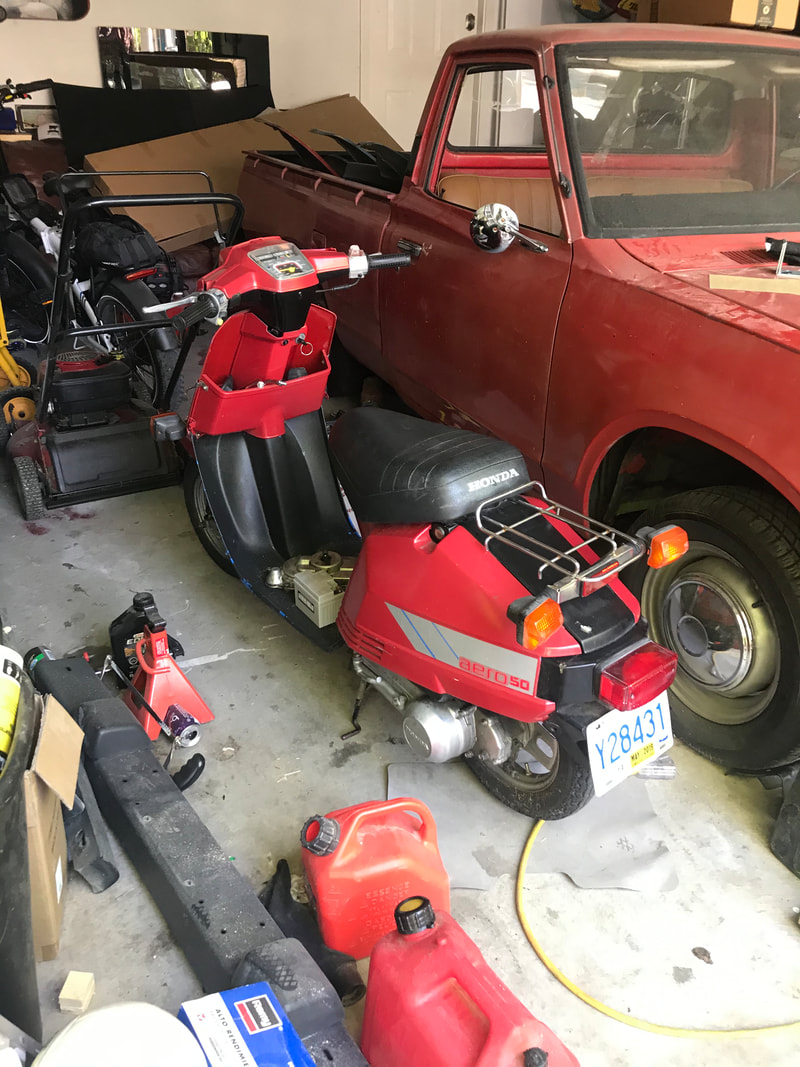 Always more to fix on this. It is a never-ending process. I made some progress though:
Brakes were cleaned Turn signals re-routed Battery replaced Oil and fluids changed Starter fixed (it was jammed) Oil lines were fixed (i ended up spilling an entire quart of oil on the neighbours driveway) Gas line replaced (it was cracking) Wheel re-inflated Bolts De-rusted I did a few days worth of research on 2 stroke engine tuning, and realized that i had to clean my carb and air intake filter. I pulled the whole thing apart, cleaned it with carb cleaner, cleaned the pilot jet and main jet, and sealed it all up after replacing the seals. For two stroke air filters, they recommend that you take apart the filter, clean the foam with dish soap, dry it and then cover it in two stroke oil, wring it out and then reassemble it. Engine ran way better with everything clean!
As in typical gentsuki fashion, large extravagant wings are often fitted to the scooters. A friend of mine owns an importing company, so he got his hands on an authentic Japanese fiberglass wing for my scooter. Since it is an '84 model, there isnt that many options for aero parts such as a wing. I had to measure my rear plastics and trim it to fit, but, after a bit of work it slid on nice and easy!
To get the wing to me, they wrapped it in tape, and just taped it to their scooter and drove it to me. scootin never dies. Just a few scooters that I will draw inspiration from when modifying mine, there is tons of them on the internet. As niche as it is, there is an extensive instagram underground community of gentsuki riders.
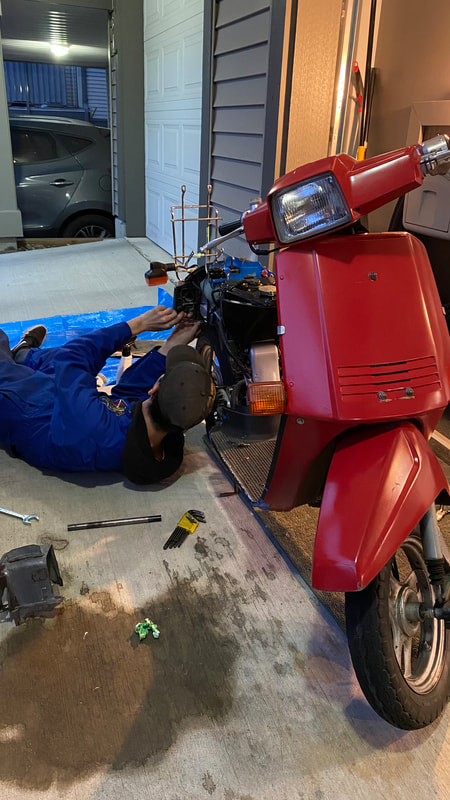 Working long nights on the scooter, with a whole thing of industrial degreaser, the engine block was finally not covered in grease and oil! On to cleaning the carb so I can get it running.
|


